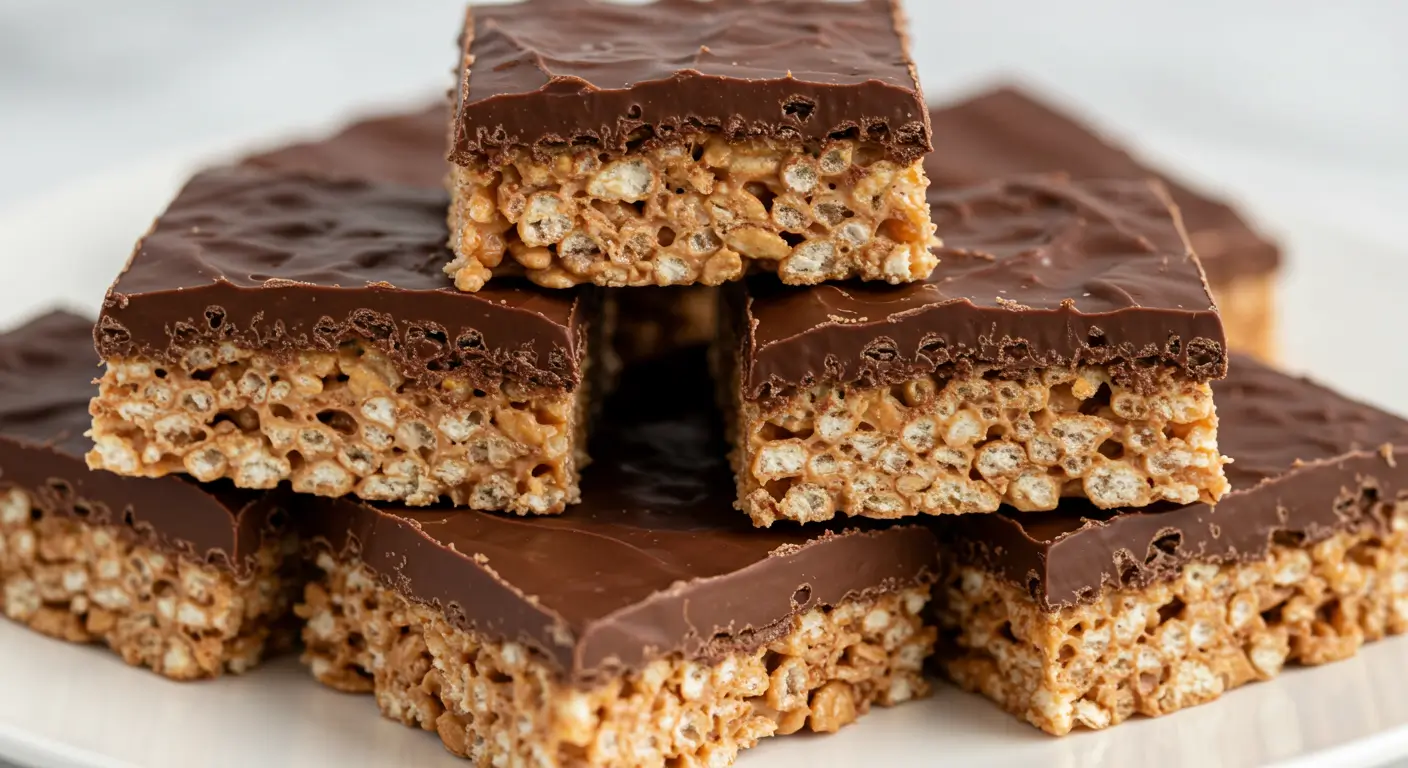
Chocolate Covered Rice Krispie Treats: Easy No-Bake Favorite for All Ages
If you’re on the hunt for a treat that checks all the boxes—easy, delicious, and nostalgia-packed—chocolate covered Rice Krispie treats are your go-to dessert. These no-bake wonders combine the gooey sweetness of marshmallows with crispy cereal and a velvety chocolate coating that turns an already beloved snack into a crowd favorite. Whether you’re prepping for a bake sale, packing school lunch treats, or just want something quick and sweet, this guide will walk you through every detail to get them just right.
We’ll cover essential ingredients, fun flavor twists, make-ahead tips, and creative presentation ideas. Plus, we’ll answer the most popular questions people ask about chocolate Rice Krispies. Don’t miss our original chocolate covered Rice Krispie recipe for inspiration and exact steps.
Table of Contents
Introduction to Chocolate Covered Rice Krispie Treats
What Makes Chocolate Covered Rice Krispie Treats a Timeless Dessert
There’s a reason why these treats have stood the test of time. The original Rice Krispie treat, made with butter, marshmallows, and crisped rice cereal, is already a classic. Add a rich chocolate coating, and you take it up several notches.
What makes this dessert so enduring?
- No baking required: Just mix, press, and coat.
- Kid-friendly: Both in taste and prep time.
- Perfect balance: Light crunch with gooey softness, plus the sweetness of chocolate.
Families love them because they can be made in under 30 minutes, and they disappear just as fast.
History of Rice Krispies and the Evolution of the Chocolate-Coated Version
Rice Krispies cereal was introduced by Kellogg’s in the 1920s, but the treat we all know and love came about in the 1930s as a promotional recipe. Since then, variations have exploded—including peanut butter twists, holiday-themed versions, and the rich, chocolate-covered variation that’s now a fan favorite.
As for chocolate? It entered the scene when bakers started dipping the bars or drizzling melted chocolate on top. Today, full chocolate coating is the gold standard for parties and dessert trays.
Discover great ideas like easy chocolate desserts to take your treat game further.
Ingredients and Equipment You’ll Need
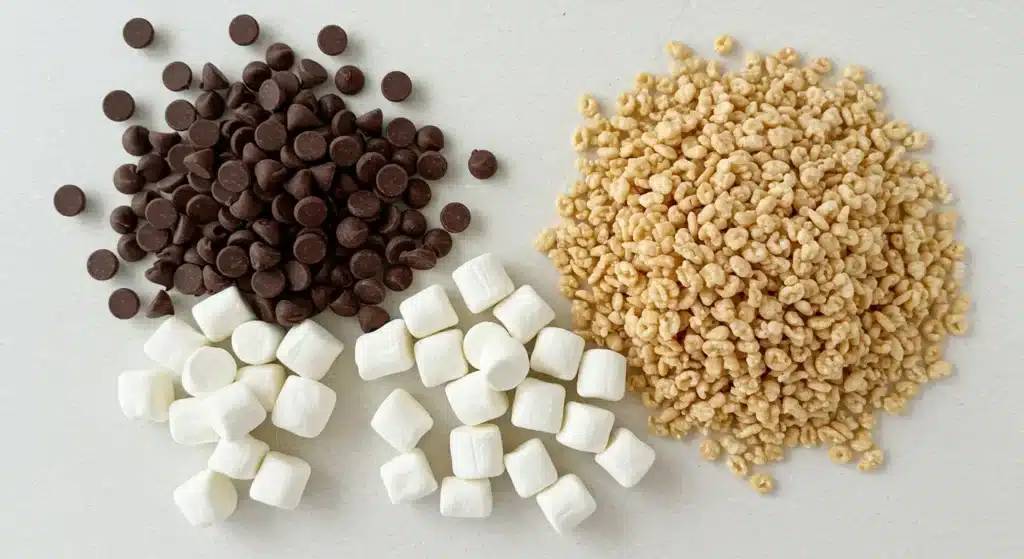
Must-Have Ingredients for the Perfect Chocolate Rice Krispie Treat
To nail the flavor and texture, you only need a few basics. First, grab a box of Rice Krispies or a crisped rice cereal. You’ll also need mini marshmallows—these melt faster and give a gooier finish.
Unsalted butter adds richness and helps everything stick together. And of course, the star: semi-sweet or dark chocolate chips for that luscious coating. You can also add vanilla extract or a pinch of salt to boost flavor.
Optional extras like peanut butter, white chocolate, or caramel chips let you customize the taste.
Recommended Tools and Kitchen Equipment for Easy Preparation
You don’t need fancy tools—just a few essentials. Start with a large saucepan for melting butter and marshmallows. Use a sturdy mixing spoon and a heat-safe spatula for folding in the cereal.
A 9×13-inch pan works great for pressing the mixture evenly. To melt chocolate, a double boiler or microwave-safe bowl is ideal. You’ll also need parchment paper to avoid sticking and a sharp knife for clean cuts.
That’s it—basic tools, amazing results.
Don’t miss our Dubai chocolate strawberries for another chocolate-dipped delight.
How to Make Chocolate Covered Rice Krispie Treats Step-by-Step
Melting the Marshmallows and Mixing the Base
Start by gently heating butter in a large saucepan on low. Once the butter is fully melted, stir in the mini marshmallows. Keep stirring until the marshmallows melt into a smooth, sticky mixture. Remove the pan from the heat and immediately stir in the crisped rice cereal. Work quickly to combine everything before the mix begins to set. Press the mixture evenly into a greased or parchment-lined 9×13-inch pan using a spatula or wax paper to flatten the surface. Allow it to sit for 30 minutes at room temperature so it can set up properly before coating with chocolate.
How to Properly Melt and Coat with Chocolate for Best Results
To make the chocolate topping, melt semi-sweet or dark chocolate chips in a heatproof bowl using a double boiler or microwave. Heat slowly and stir often to avoid burning. Once smooth, pour the melted chocolate over the set Rice Krispie base. Use a spatula to spread the chocolate evenly, covering every edge. Let the pan sit until the chocolate firms up, or refrigerate it for about 20 minutes to speed up the process. Once hardened, slice into clean squares or bars using a sharp knife.
Don’t miss our cottage cheese desserts for other easy, no-bake dessert ideas.
Recipe Variations and Flavor Ideas
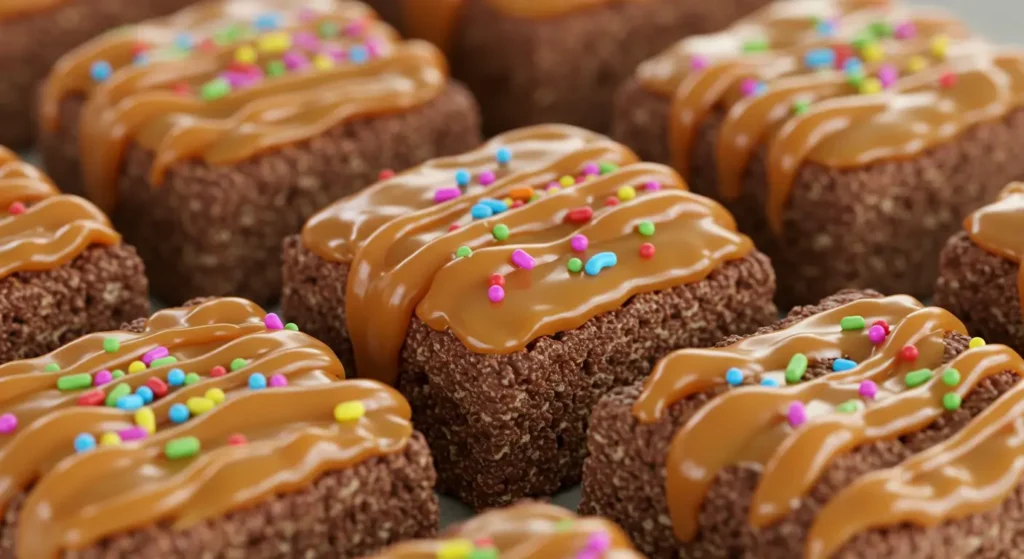
White Chocolate, Peanut Butter, and Caramel Drizzles
If you’re bored with plain chocolate, there are so many fun twists to try. White chocolate adds a creamy sweetness and gives a cool color contrast. Simply melt it the same way and drizzle it over the top or use it instead of dark chocolate.
Peanut butter is another winner. Stir it into the melted marshmallow mix for a nutty boost, or swirl it into the chocolate topping before it sets. Caramel drizzle? Yes, please. Just warm it slightly and zig-zag over the top once the chocolate is firm. These changes are simple but pack in big flavor.
Vegan, Gluten-Free, and Allergy-Friendly Substitutes
Making these treats vegan or allergy-friendly is easier than you think. Use vegan marshmallows and plant-based butter. Swap the cereal with a certified gluten-free crisp rice brand if needed. For the chocolate, choose a dairy-free version like dark baking chocolate or vegan chocolate chips.
Nut allergies? Skip peanut butter and go with sunflower seed butter or just stick to the basics. These swaps won’t mess with the flavor or texture—they just make the treats safe for everyone to enjoy.
Check out tasty Blackstone breakfast recipes if you’re looking for more fun ideas to start the day sweetly.
Chocolate Rice Krispie Bars and Cakes
How to Make Chocolate Rice Krispie Bars with Layers
Want a thicker, bakery-style treat? Go for layered bars. Start with your usual Rice Krispie base in the pan. Let it cool a bit, then add a layer of peanut butter, Nutella, or marshmallow fluff.
Pour your melted chocolate over the top layer and smooth it out. Let it firm up in the fridge. When it’s ready, slice into thick squares or long bars for easy serving. These layers add richness and make the treat feel extra special.
Turning the Treat into Fun Cakes and Party Shapes
You’re not limited to bars. Try pressing the cereal mixture into silicone molds for fun shapes. Hearts, stars, or even numbers for birthday themes work great. You can also cut the pan into circles using cookie cutters.
Want a full dessert “cake”? Press the mixture into a springform pan and top with chocolate and sprinkles. Let it set, slice it like a cake, and serve. Kids love it, and it’s perfect for holidays or parties.
Storage, Shelf Life, and Make-Ahead Tips
How Long Can You Store Chocolate Covered Rice Krispies?
Chocolate covered Rice Krispie treats store well if kept sealed. At room temperature in an airtight container, they stay fresh for up to five days. Keep them away from heat and moisture to prevent melting or sogginess.
If your house is warm, store them in the fridge. Just know they’ll be a bit firmer and may need a minute at room temp before serving.
Freezing and Thawing Tips for Longer Storage
Yes, you can freeze them. Place cut treats between layers of parchment paper in a freezer-safe container. They’ll keep for up to two months without losing quality.
To serve, thaw at room temperature for about 15 minutes. Avoid microwaving—they’ll get rubbery. This method is great if you’re prepping ahead for parties or holidays.
Don’t miss our delicious crab brulee recipe if you’re planning a fancy dinner and want a contrast to sweet snacks.
Creative Topping Ideas and Decorating Tips
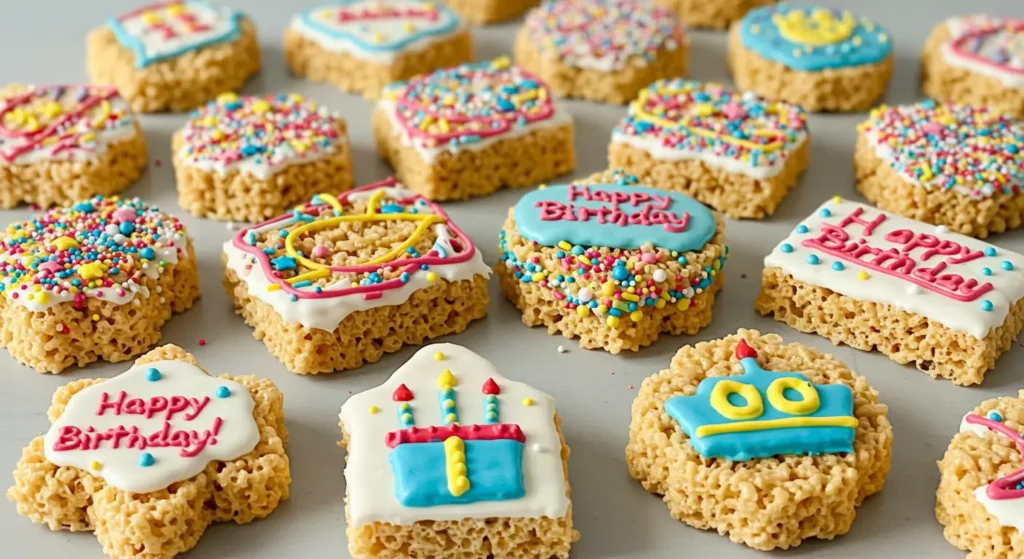
Kid-Friendly Decoration Styles for Holidays and Birthdays
Want to make your treats pop? Use colored sprinkles, crushed candy, or mini M&Ms. Simply scatter them on top of the melted chocolate before it hardens. They’ll stick perfectly and add texture.
For birthdays, match sprinkle colors to the theme. During holidays, use festive toppings—red and green for Christmas, orange and black for Halloween, or pastel colors for Easter.
You can also insert fun picks or flags for easy themed styling without much work.
Instagram-Worthy Presentation Tips Using Sprinkles and Molds
Cutting your bars into clean shapes makes a big difference. Use sharp cookie cutters or a warm knife for perfect edges. Round or heart shapes photograph beautifully.
Drizzle with white or colored chocolate to add that extra flair. Then dust with edible glitter or sea salt for contrast.
Arrange the pieces on a cake stand or line them up in mini cupcake wrappers. It’s simple but looks high-effort.
Conclusion and Final Serving Ideas
Final Thoughts on Making the Best Chocolate Covered Rice Krispie Treats
These treats are proof that simple ingredients can create magic. With just cereal, marshmallows, and chocolate, you get a dessert that’s chewy, crispy, and totally addictive. Whether you’re keeping it classic or trying fun variations, it’s a foolproof go-to.
Short on time? No worries. These bars come together fast and are perfect for last-minute events or sweet cravings. Even better, they’re easy to customize for any season, diet, or party.
Where to Serve Them: School Snacks, Bake Sales, and More
Chocolate covered Rice Krispie treats are perfect for any event. Pack them in lunchboxes, hand them out at school parties, or sell them at bake sales—they’re always a hit.
They also work great as potluck desserts, birthday goodies, or even wedding favors when shaped or packaged nicely. Everyone loves a dessert that’s easy to eat and hard to resist.
FAQs
How to make chocolate covered rice krispie cakes?
Start by pressing your Rice Krispie mixture into a round cake pan instead of a rectangular dish. Let it set, then pour melted chocolate over the top. Once cooled, slice it like a cake. You can also layer with frosting or marshmallow fluff for more flavor.
How many days in advance can I make chocolate covered rice krispies?
You can make them up to five days ahead if stored in an airtight container at room temperature. For longer storage, freeze them and thaw the day before serving. They’ll still taste fresh and chewy.
How to make chocolate rice krispie bars?
Prepare the classic Rice Krispie mix with butter and marshmallows. Press into a pan, let it cool, then coat the top with melted chocolate. Chill until firm, then slice into bars. That’s it—super simple.
What happened to chocolate rice krispies?
Chocolate-flavored Rice Krispies cereal was discontinued in some regions, but it’s still available in others under different names. It’s also easy to recreate the taste by mixing regular Rice Krispies with cocoa powder or chocolate syrup.
What happened to Choco Krispies?
Choco Krispies is the international version of chocolate Rice Krispies. In some countries, it was renamed or pulled from shelves. Availability now depends on location and branding by Kellogg’s.
What are the flavors of Rice Krispie Treats?
Besides original, there are many flavors—chocolate chip, birthday cake, peanut butter, caramel, and cookies & cream. Some brands even make seasonal flavors like pumpkin spice or peppermint.
